Every wreath in Kandi's shop is one of a kind, which means every listing photo is of the exact piece that will arrive at the buyer's door. That raises the stakes on the photo. It cannot be a representative sample or a stock image; it has to show this wreath, honestly and well. Here is how the workshop does it and how to do the same with a phone.
Light: daylight, indirect
The single biggest improvement to any wreath photo is turning off the ceiling light and using a window or an open door. Direct sun bleaches color and casts hard shadows into the florals; overcast daylight or open shade shows the real colors and the texture. Shoot in the morning or late afternoon, or on a cloudy day, and never with the flash.
If the only good light is outdoors, shoot outdoors. A front door under a porch roof is the natural setting for a wreath anyway.
Angle: the way it hangs
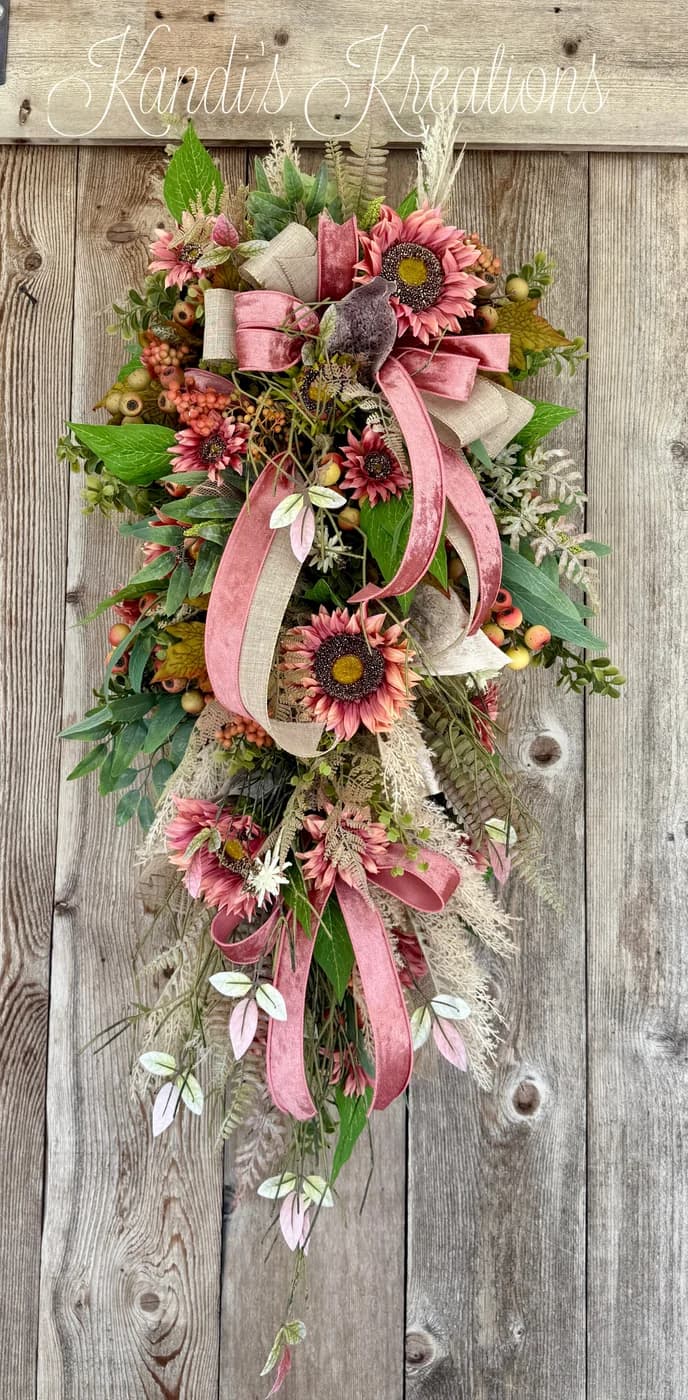
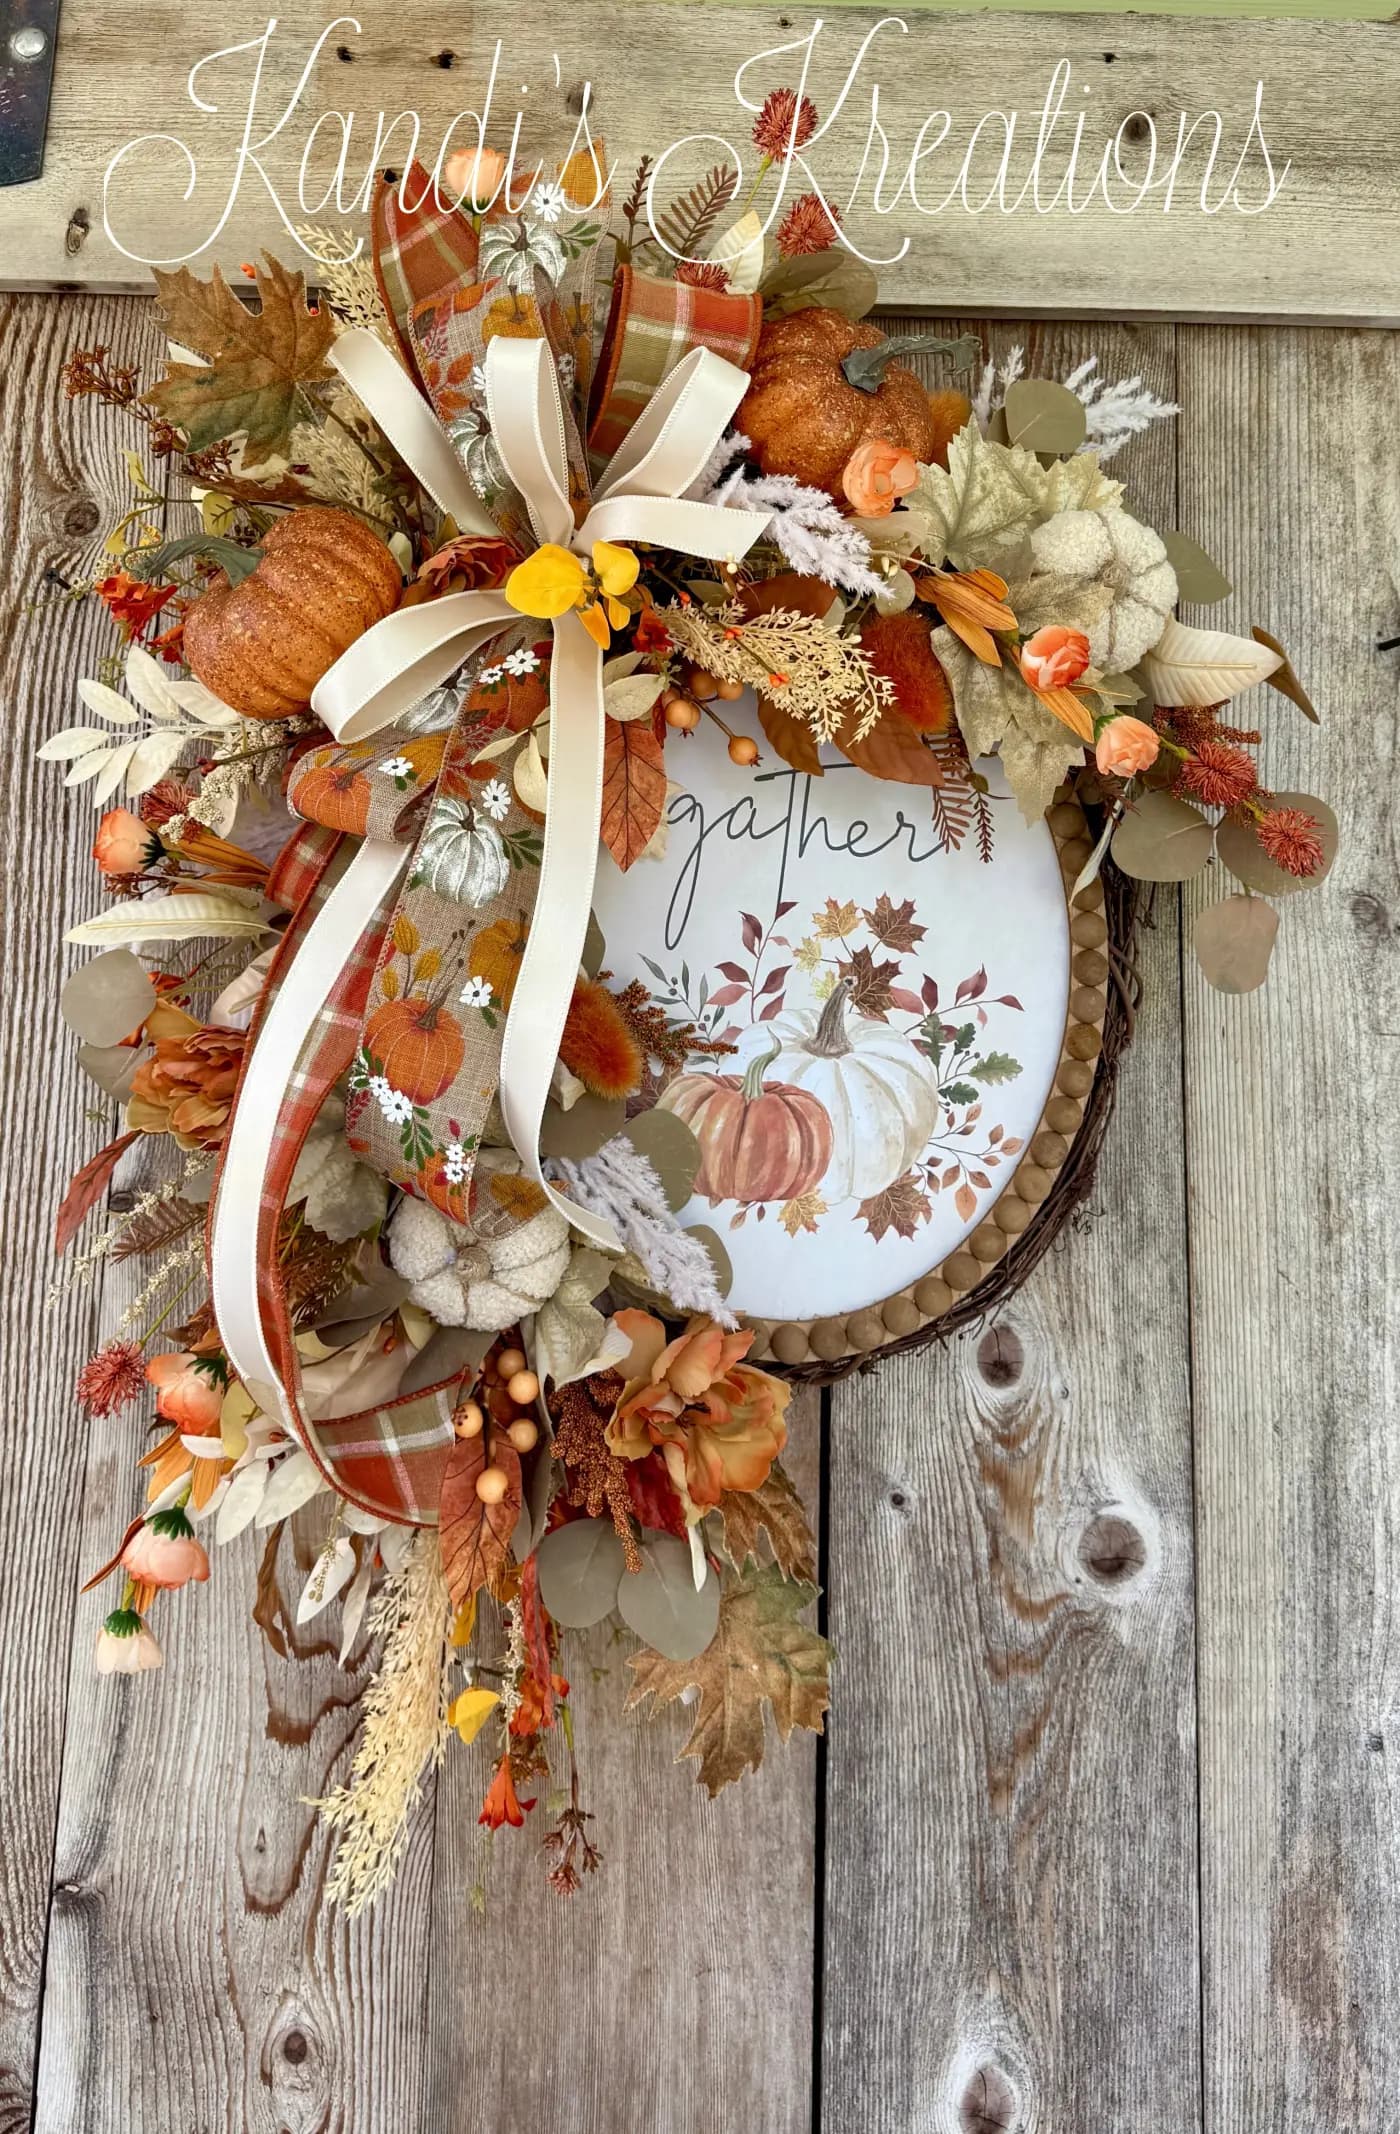
A wreath photographed flat on a table or a floor looks like a craft project. A wreath photographed hanging, at the angle a door holds it, looks like the thing the buyer is imagining on their own door. Every one of Kandi's listing photos is shot vertical.
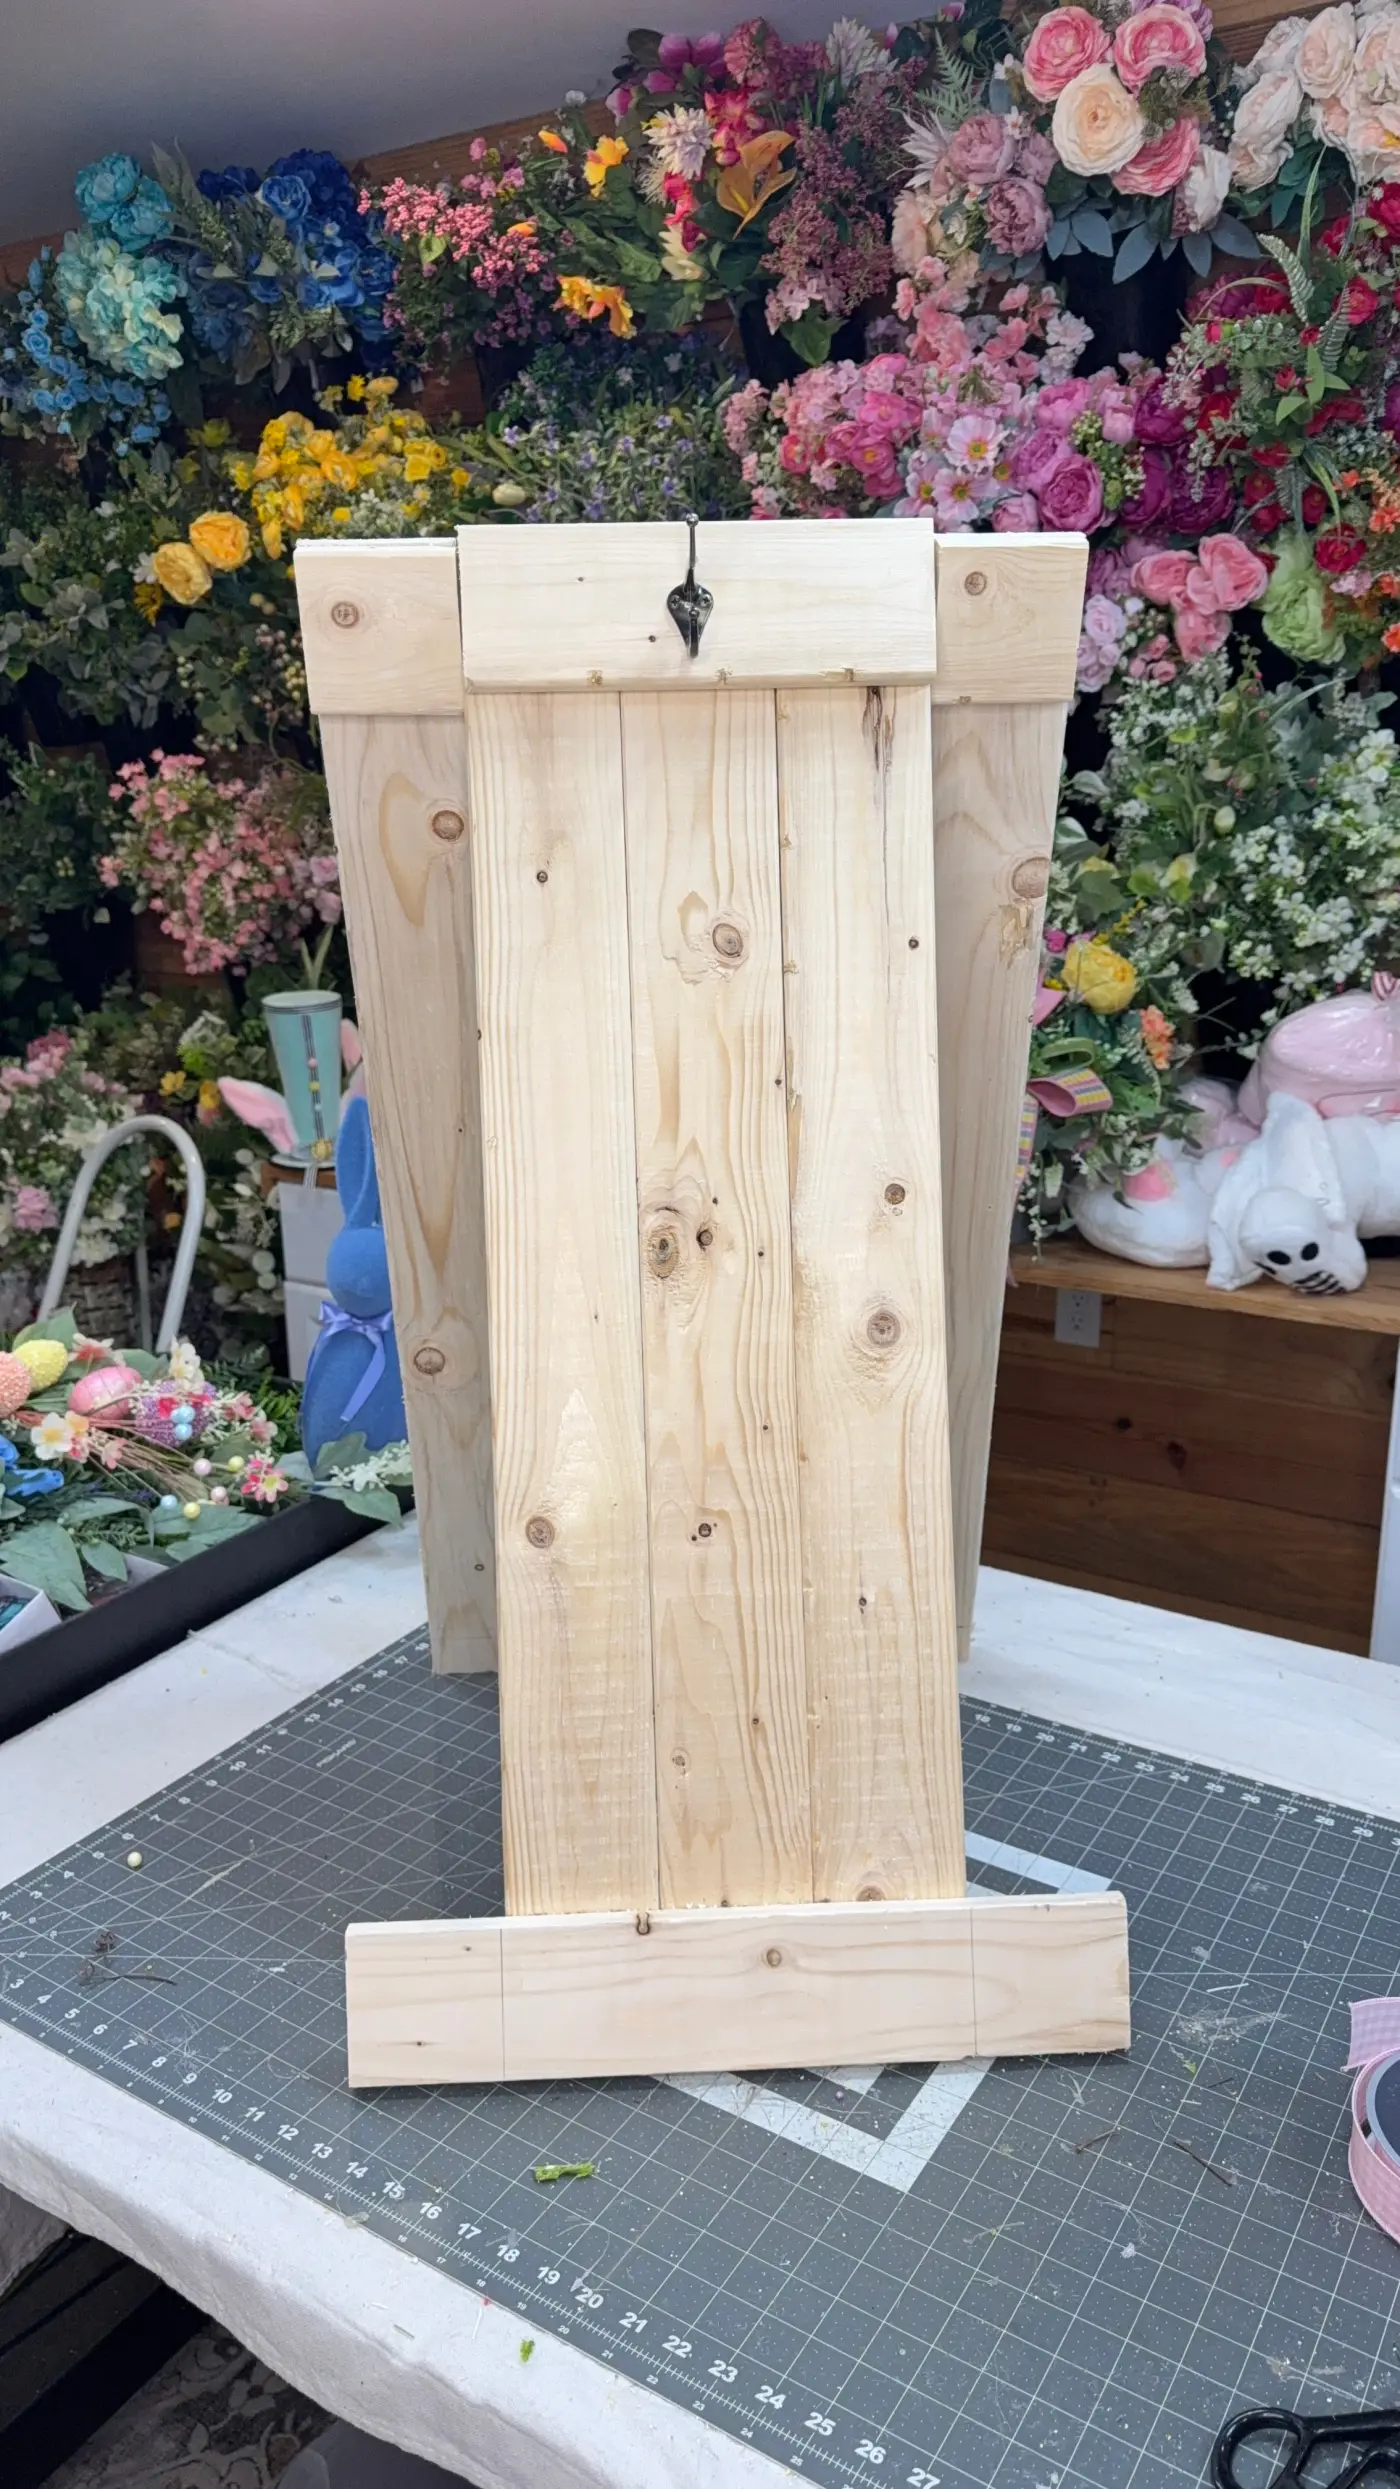
This is one of the reasons she designed the Wreath Making Easel. It holds the finished piece at door angle and at a good height, so it doubles as the photography stand after it has been the working stand. A wreath propped against a wall photographs like a wreath propped against a wall; on the easel, or on an actual door, it photographs like a wreath.
Background: plain and consistent
A plain door, a neutral wall, or a simple backdrop. Nothing patterned, nothing that competes with the florals. Then use the same background for every listing, so the shop reads as one place. Kandi's photos are shot in the Savannah workshop with the same few setups, which is why the shop looks like one designer's work and not a collection of screenshots.
The five shots
1. Straight on. The whole wreath, centered, filling most of the frame. This is the thumbnail. 2. Angled. From about forty-five degrees, so the depth of the florals shows. This is the shot that proves it is not flat. 3. Close-up of the focal piece. The pumpkin cluster, the cat, the church, the bow. Texture sells. 4. Scale. On a real door, or beside something a buyer can measure against. A tape measure across the widest point is not elegant but it answers the question every buyer has. 5. Detail of a secondary element. The ribbon, the berries, the back with the hanging loop. It shows the piece was finished all the way around.
Style it lightly
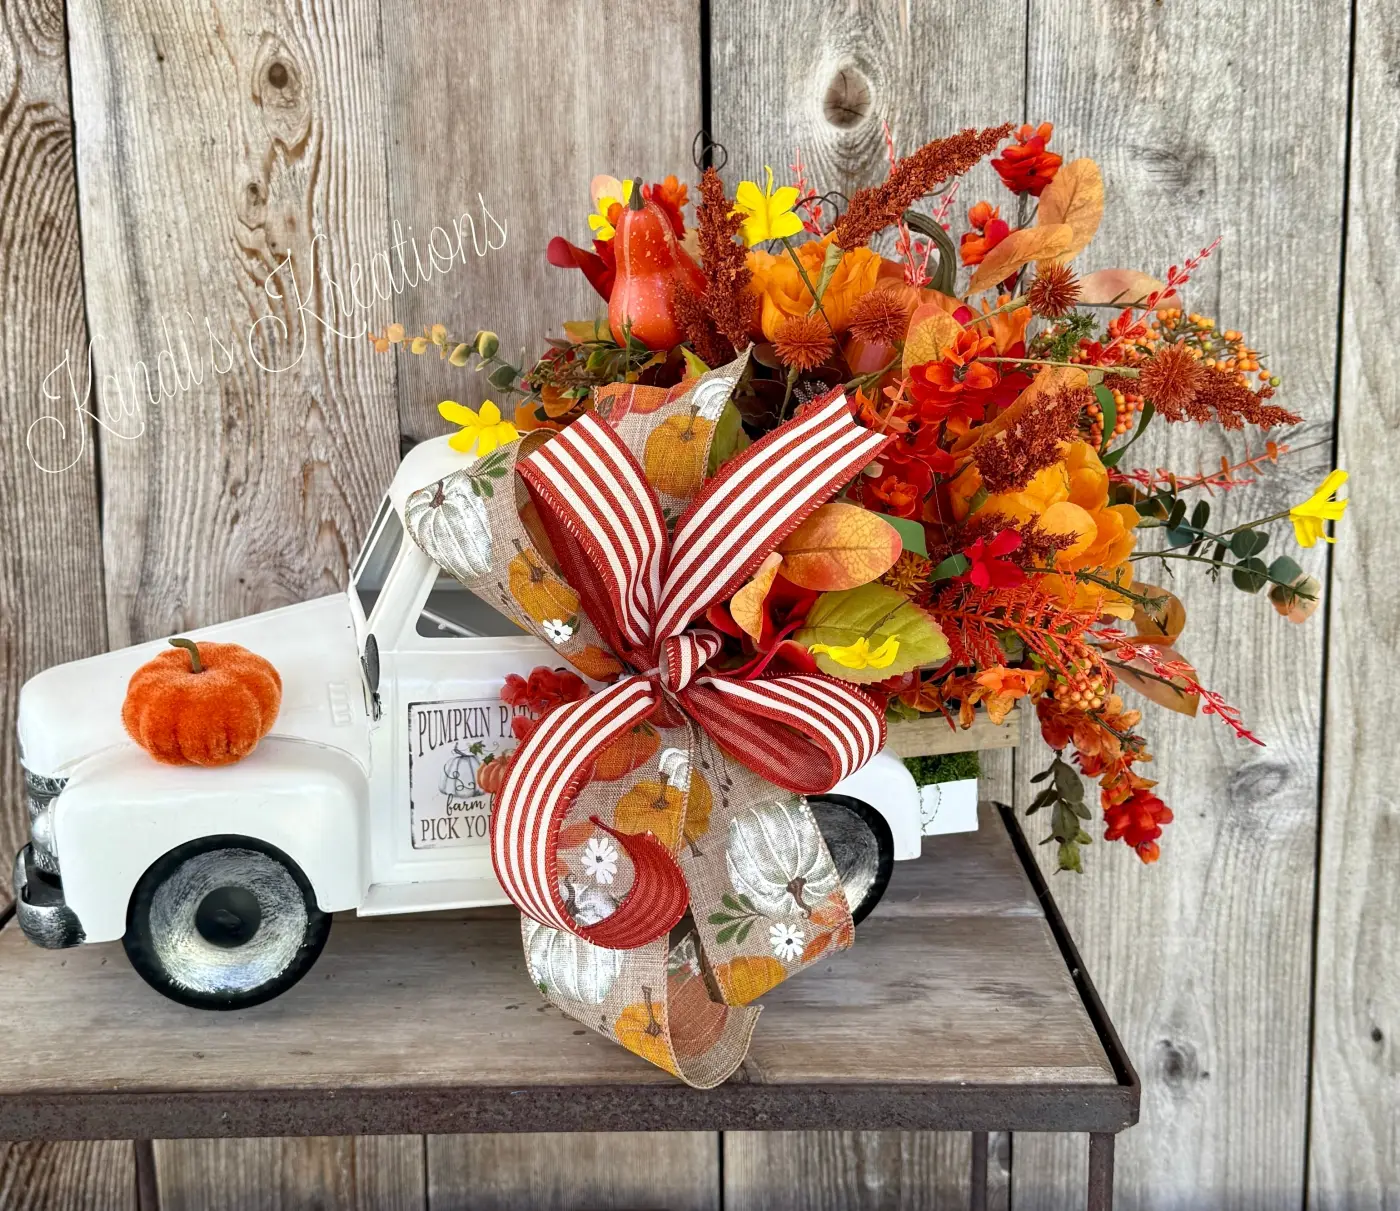
A wreath on a door needs nothing else in the frame. If the shot is an arrangement or a centerpiece, a table and one plain object for scale is enough. The temptation to stage a whole porch should be resisted for the main photo and saved for a lifestyle shot later in the listing.
Edit for honesty
Crop tight, straighten the horizon, and correct the white balance so cream reads as cream and not yellow. Do not push saturation. A buyer who receives a wreath that is duller than the photo leaves a different review from one who receives exactly what they saw. Kandi's reviews consistently say the wreath was prettier in person, which is the outcome an honest photo produces.
Shoot before you ship
Photograph the finished wreath before it is boxed, on the day it is finished, in the light you always use. A wreath that has been boxed and unboxed never looks quite as crisp, and a listing waiting on a photo is a wreath nobody can buy.
Learn it live
Photography, titles and the rest of the shop side are covered inside the Kreative Krew, where Lauren Kilgore's monthly Etsy shop critiques look at real members' photos and say what to fix first. Etsy shop basics for wreath makers is the written starting point, and the free Intro to Wreath Making course is where the wreaths worth photographing begin.
Frequently asked questions
Do I need a real door to photograph on?
No. The easel, a plain wall with a hook, or any vertical surface at door angle works. The point is vertical and daylight.
Portrait or landscape?
Portrait for a wreath or swag, since they are taller than wide once the tails hang. Square crops work for the thumbnail.
How do I show the size?
One photo on an actual door, and the dimensions written in the description. Both. Build a wreath at the angle it will hang explains why the door angle matters for the build as well as the photo.
Can I use the same photo for Etsy and my own site?
Yes. Shoot once, well, and use it everywhere. Kandi's site uses the same photographs as her listings.