A bow is the one element on a wreath that nearly every buyer notices and nearly every beginner gets wrong. Too small and the wreath looks unfinished. Too tight and it looks like a gift. Tails cut straight across and it looks homemade in the wrong way. Bow making is one of the first things in the Krew tutorial vault for exactly that reason, and the fundamentals are simple enough to cover here.
Start with wired ribbon
Almost all of it comes down to this. Wired ribbon has a thin wire along each edge, which means every loop holds the shape you give it and every tail can be curved. Unwired ribbon collapses. If you only change one thing about your bows, change the ribbon.
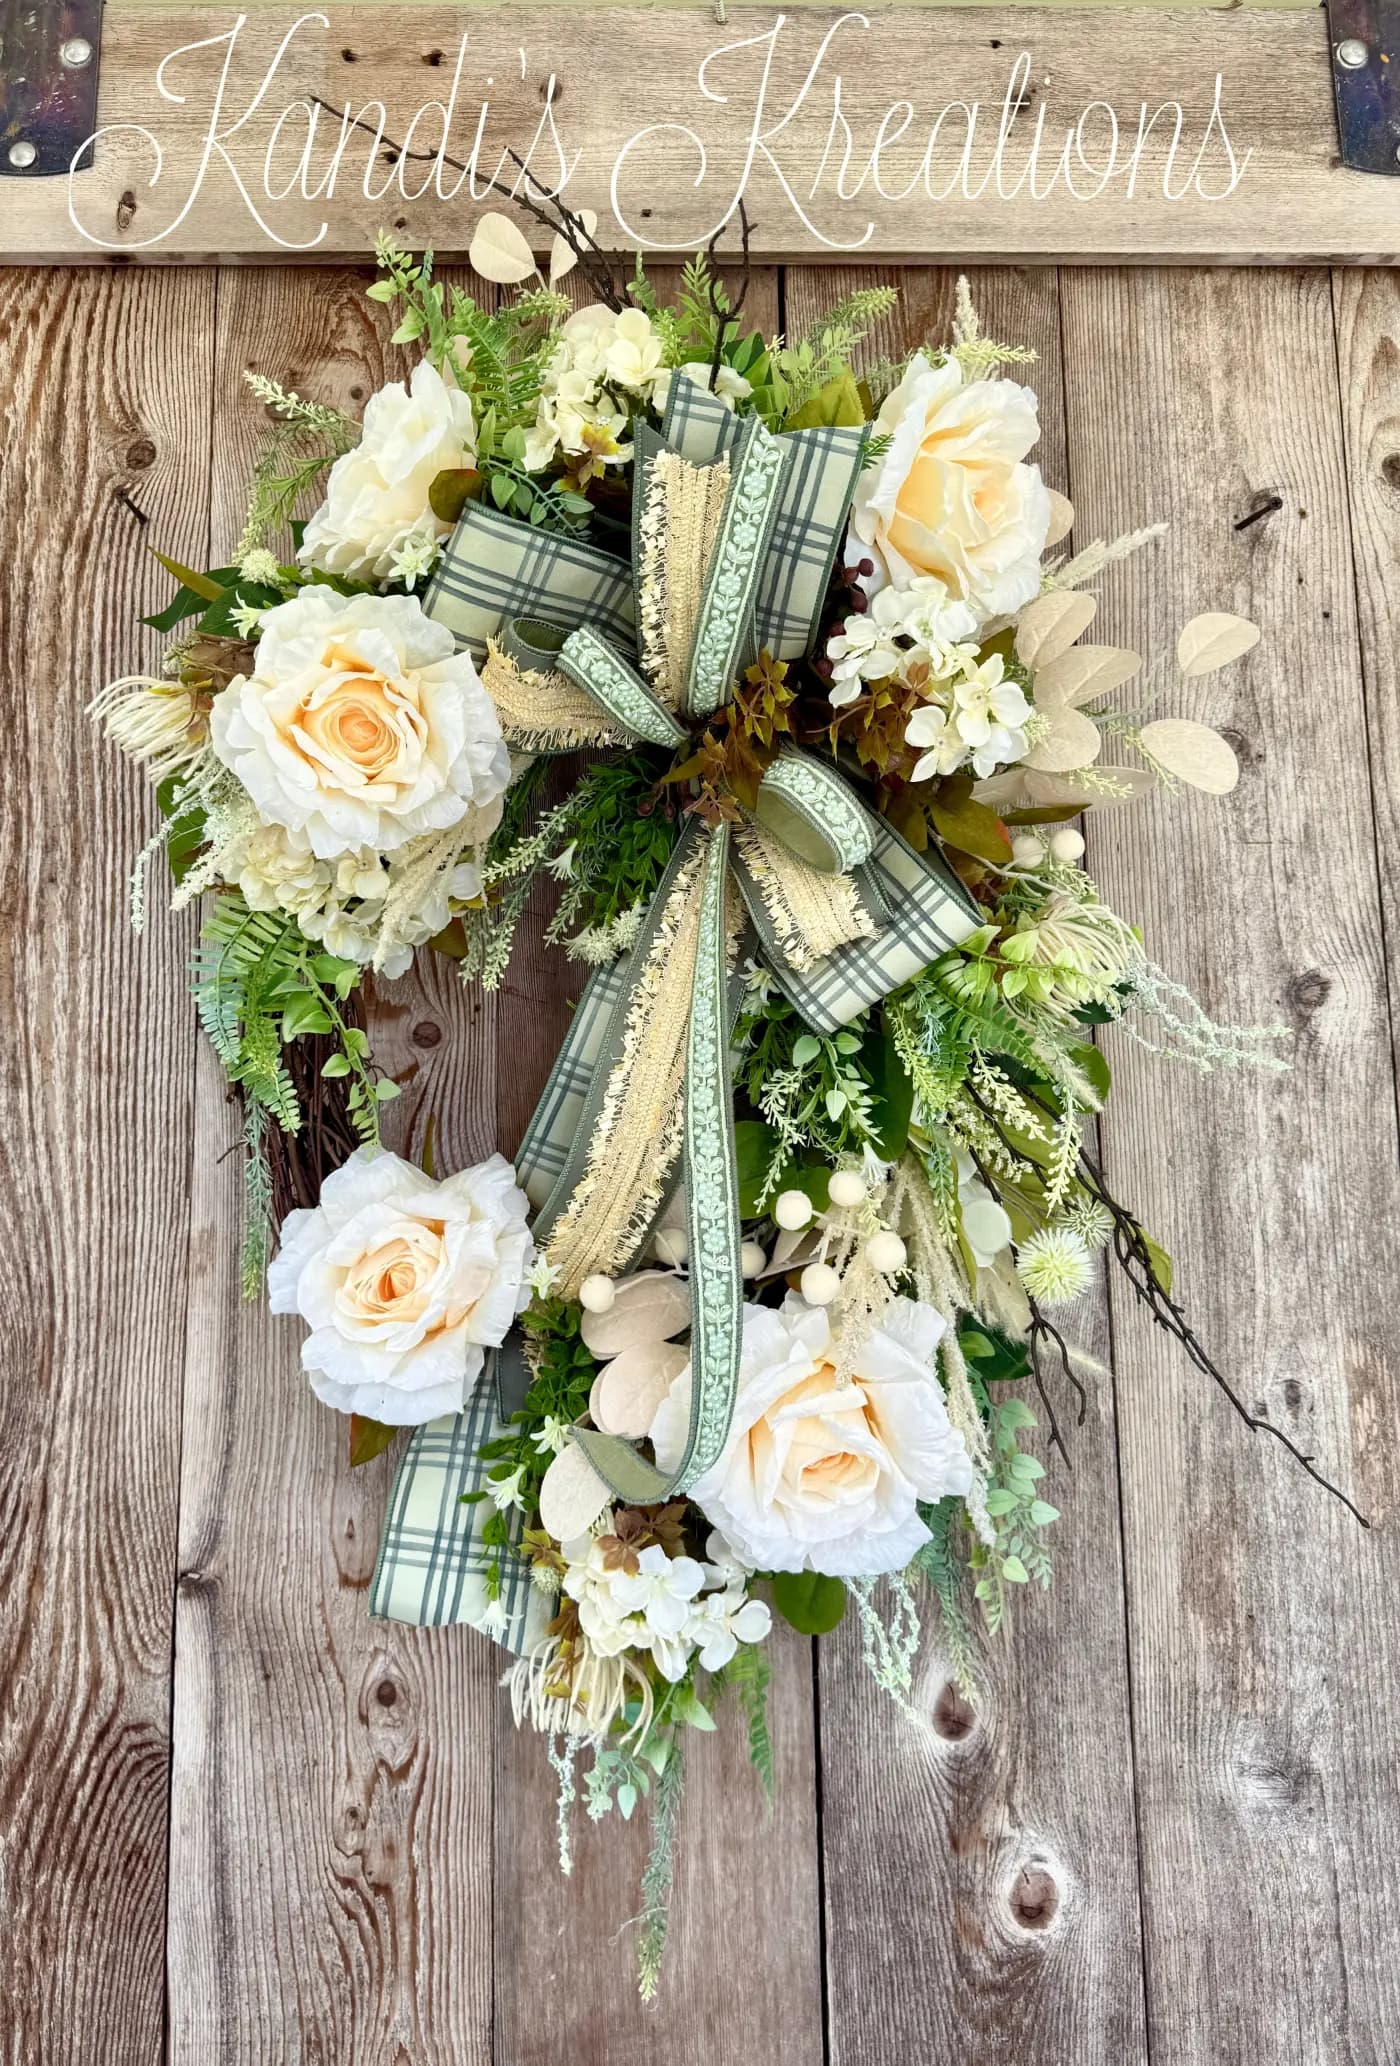
Width matters too. For a standard front-door wreath, a ribbon two and a half inches wide is the workhorse. Narrower ribbon disappears against full florals; wider ribbon dominates a smaller wreath. Kandi often layers two widths, a wide patterned ribbon under a narrower solid one, which is how the Elegant Cream Rose Grapevine Wreath gets its sage plaid bow with textured ribbon accents.
The basic hand-tied bow
You need the ribbon, a length of floral wire, and scissors that have never cut wire.
1. Leave a tail. Start with eight to ten inches of ribbon hanging down. That is your first tail. 2. Make a loop and pinch. Fold the ribbon into a loop about four inches long and pinch the base between thumb and finger. If the ribbon has a right side, twist it half a turn at the pinch so the right side faces out on every loop. 3. Repeat, alternating sides. Loop to the left, twist, pinch. Loop to the right, twist, pinch. Keep every pinch in the same spot under your thumb. 4. Count your loops. Six loops, three each side, is a modest bow. Eight to ten is full. Keep going until it looks slightly too big, because it will look right on the wreath. 5. Leave the second tail. Cut the ribbon leaving another eight to ten inches. 6. Wire the center. Wrap floral wire tightly around the pinch point two or three times and twist it closed at the back. Leave the wire ends long; they attach the bow to the wreath. 7. Fluff. Pull each loop out and up, and shape the wired edges so no two loops sit exactly the same way.
The tails
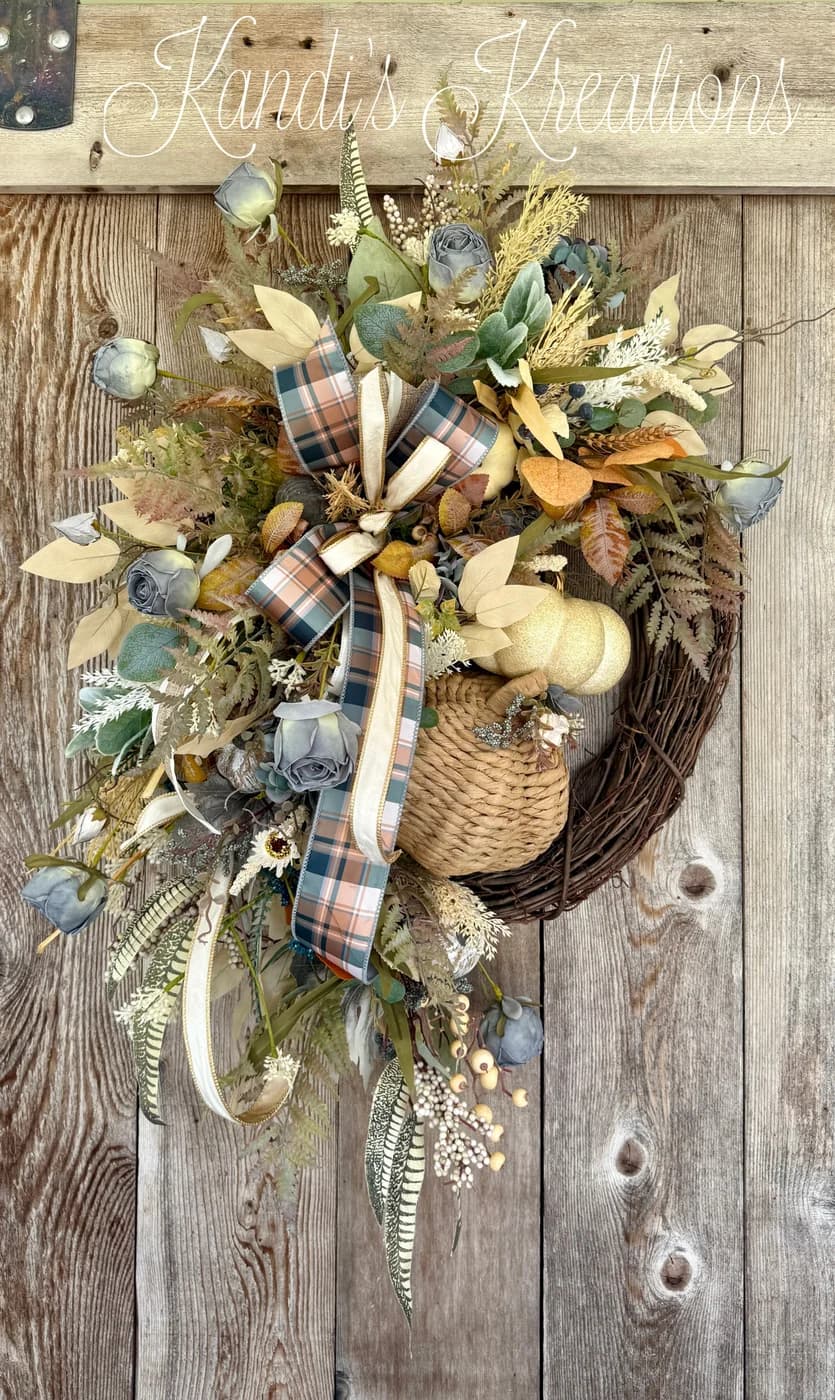
Tails are what separate a designed bow from a craft-aisle bow. Cut each tail end on a diagonal or in a dovetail, never straight across. Then give each tail a gentle curve with the wire in its edge, so they trail down and out rather than hanging like two flags. On a swag or a long wreath, tails can be longer than the loops, which is what the Blush Harvest Fall Swag does.
Where the bow goes
Not always at the top. On most of Kandi's designs the bow anchors the focal point rather than sitting opposite it. Look at where the florals cluster and put the bow at the base of that cluster, tucked slightly under the greenery so it looks like it belongs to the wreath rather than sitting on it. A bow that floats on top of the design is the second most common beginner tell after size. Why your wreath looks off covers the balance side of this.
Size
A bow should be big enough to read from the street. For an 18-inch wreath, that means a bow roughly eight to ten inches across before fluffing. Beginners consistently tie bows half that size and then wonder why the wreath looks unfinished. When in doubt, add two loops.
Beyond the basic bow
Once the hand-tied bow is reliable, there is a whole vocabulary: funky bows with multiple ribbons, layered bows, bows built on a bow maker, bows with picks and stems worked into the loops. Kerry Greenfield's bold approach to layering ribbon on mantels and Christmas trees, taught inside the Kreative Krew, starts from these same fundamentals and goes a long way past them. The Krew merch says Ribbon Addict for a reason.
Practice on the easel
A bow always looks different on a vertical wreath than it did in your hand. Attach it with the wreath hanging on the Wreath Making Easel or on the door itself, then fluff and shape the tails in place. Gravity will tell you immediately whether the tails need shortening.
Start free
Bow making sits inside the basics, and the free Intro to Wreath Making course covers the structure a bow is attached to. The paid single tutorials each include the bow for that specific design, with the supply list.
Frequently asked questions
How much ribbon does one bow take?
Roughly three yards for a full ten-loop bow with tails on two-and-a-half-inch ribbon. Buy the roll, not a cut length, so you can add loops without running out.
Can I make a bow without wired ribbon?
You can, but it will not hold its shape on a door. Burlap, velvet and most decorative ribbons come wired for exactly this reason.
My loops all lean the same way. Why?
You are pinching in slightly different places each time or skipping the half twist. Keep the pinch point under one thumb and twist every loop so the right side faces out.
Does the bow need to match the florals?
Pick a color that already appears on the wreath, even a small one. A bow in a color that is nowhere else on the design looks like it was added later. Beginner wreath-making supplies has the shopping side.